Replacing Front Suspension Bushes
Normal Workshop safety equipment use and advice should be observed at all times! The operation can be completed by the average enthusiast with suitable equipment. The only special Tooling required is a couple of long threaded Rods, Nuts and Washers.
After inspecting the front suspension of my Midget I decided to replace the rubber bushes in the Wishbone inner mountings and the top Trunions. Rather than use standard rubber type Bushes I opted for Poly Bushes as these have a better lifespan, with many owners reporting years of service without degradation.
First job is to jack the car up, remove the wheel(s) and support on Axle Stands on the main Chassis Legs so as to leave the front suspension hanging.
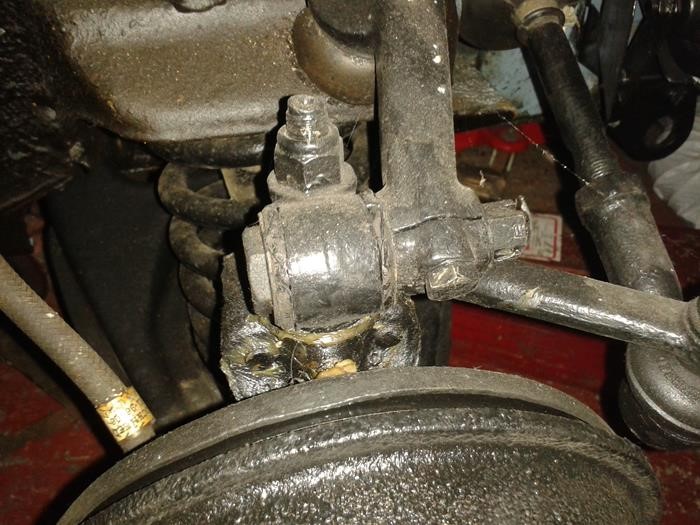
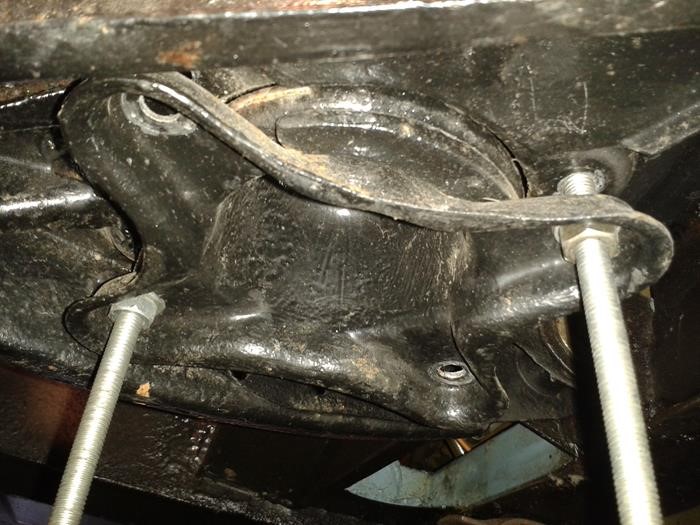
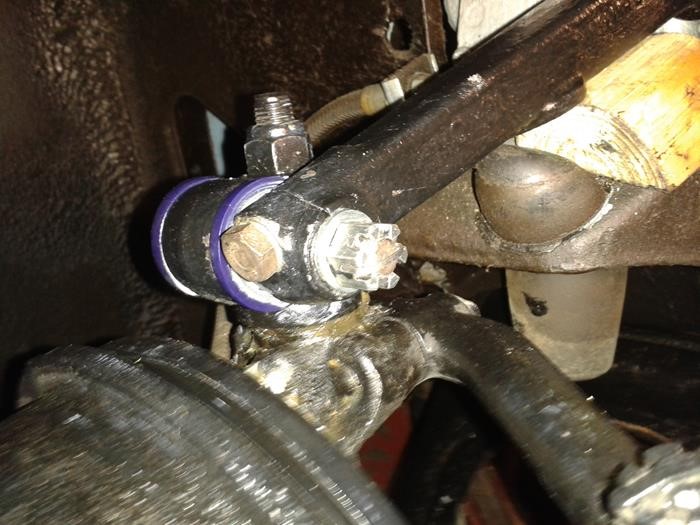
This is the Top Trunion and these Bushes were showing significant signs of perishing due to ageing rather than wear as they have only covered a couple of thousand miles!
The inner Wishbone Bushes were in much better condition but I am replacing them with Poly Bushes too.
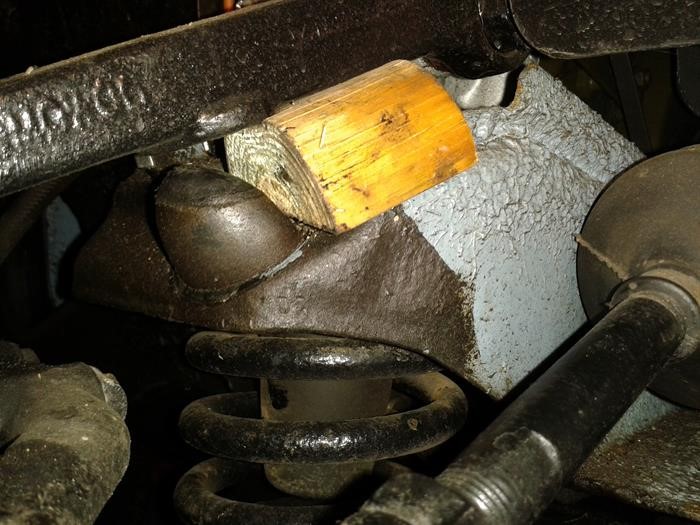
In order to release the Spring tension I jacked up the free hanging suspension and ‘chocked’ the Shock Absorber Arm so that the lower Spring seat is parallel with the upper spring seat. This will aid the removal of the Spring.
Next step is to remove two of the Nuts & Bolts, opposite each other, that retain the lower Spring Seat and replace with two pieces of threaded Rod, six Nuts and four Washers.
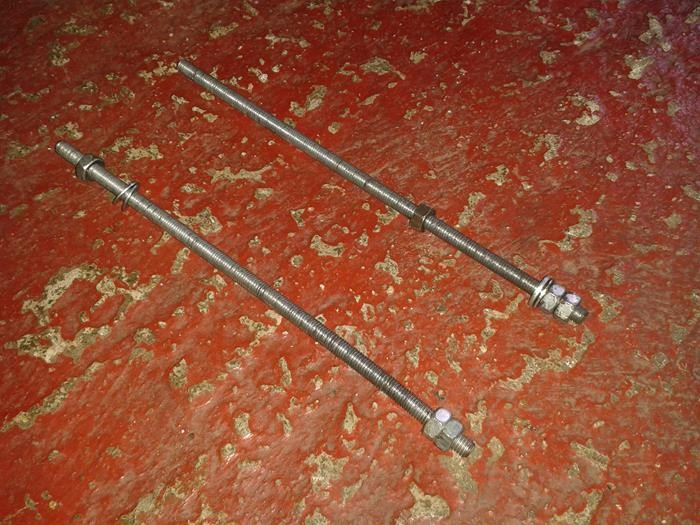
For my purpose these are installed so that the two Nuts locked together and one Washer are placed on top of the Wishbone and the single Nut and the other Washer underneath.
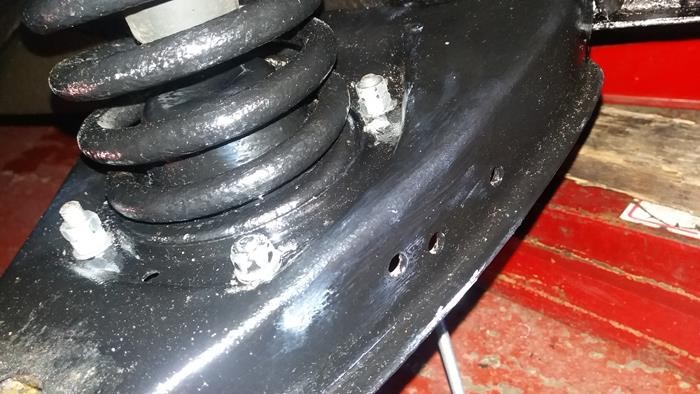
Once these Rods are in position and secured the remaining two original mounting Nuts & Bolts can be removed such that the lower Spring Seat is only retained by the two Rods fitted.
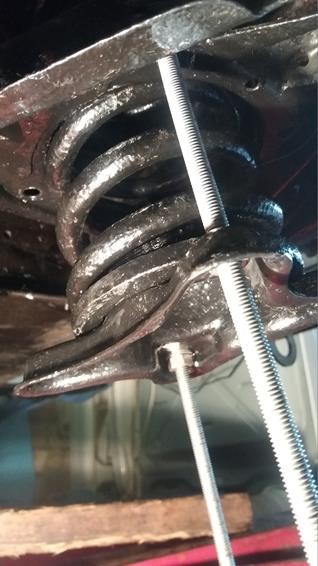
Now it’s possible to release the Spring tension by undoing the lower, single Nuts. By using a Ratchet and Socket on the upper, locked Nut and a Spanner on the lower Nut slowly and evenly release the lower Spring Mounting so that it drops away from the Wishbone.
The Spring will drop through the Wishbone as the tension is released until it is fully extended and can then safely be removed.
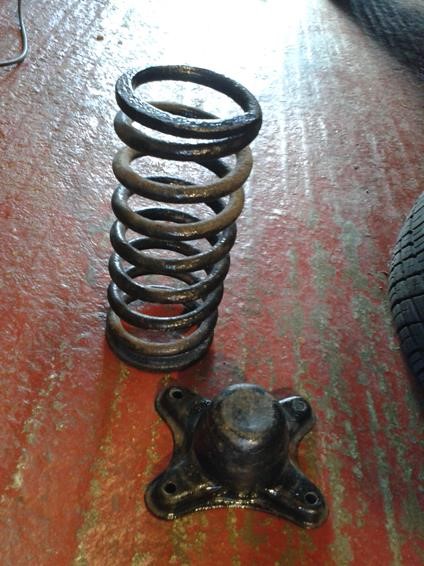
The Spring and Lower Seat can then be detatched from the car.
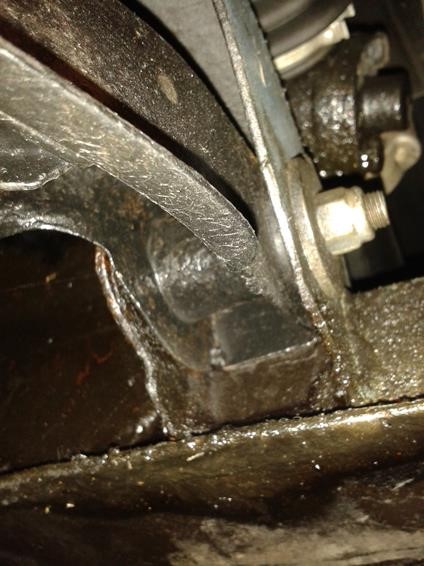
Once the Spring is removed the Bushes can be replaced. I started with the Top Trunion. With the Split Pin removed and the Clamp Bolt removed from the end of the Shock Absorber Arm the Trunion through Bolt can be withdrawn. Care needs to be taken to avoid the detatched Hub and Brake assembly hanging on the flexible Brake Hose when the Bolt is removed so a suitable support should be employed here!

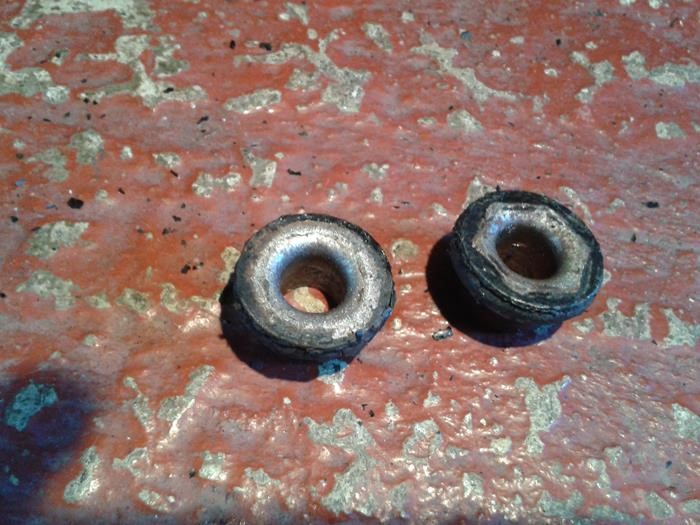
With the through Bolt removed the Bushes can be extracted by hand. This shows what the old Bushes looked like.
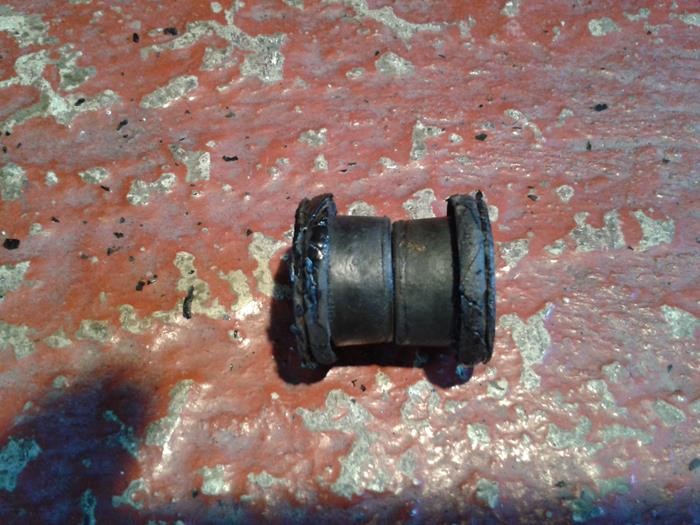
The original Bushes have a Metal insert to prevent crushing.
The Poly Bushes have a single Stainless Steel Spacer Tube and two Flat Washers at the back of the Bushes.
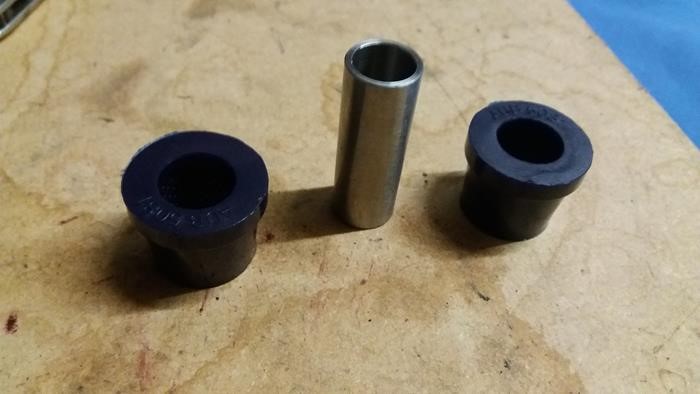
The Poly Bushes are designed to be fitted so that the pivot point is around the centre of the Bushes and not the outer surfaces so it is important to use the special Grease supplied with the Bushes to lubricate the inner bore and back face of the Bushes to allow this movement. The tapered sides of the Bushes, where they fit into the Trunion and Wishbone should be kept grease free to help with the grip into the fitting and prevent movement
With the Bushes pressed in to the Trunion and the Stainless Steel tube inserted the through Bolt can be refitted, noting the cut out for the Shock Absorber Clamp Bolt.
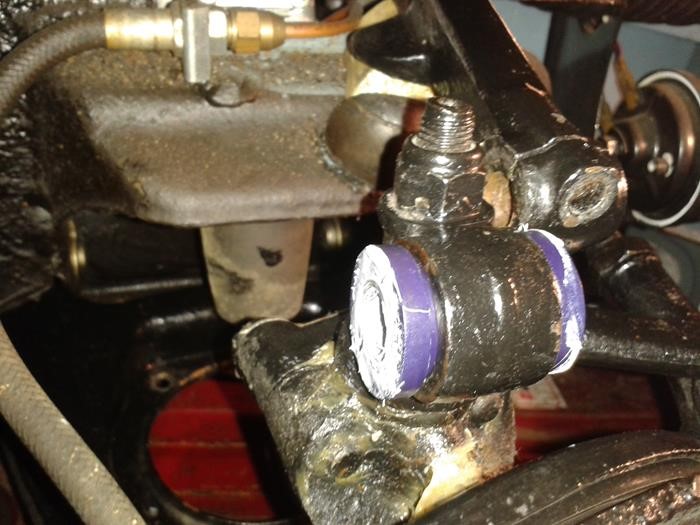
The Trunion can now be re-assembled. By tightening the Castellated Nut until the Clamp Bolt can be inserted in the Shock Absorber Arm and secured then a new Split Pin fitted.
At this point you can check the pivot action of the new Bushes by raising and lowering the Suspension by hand. It is imperative to the longevity of the Bushes that the movement is around the centre of the Bushes and not the Bushes moving in the Trunion!
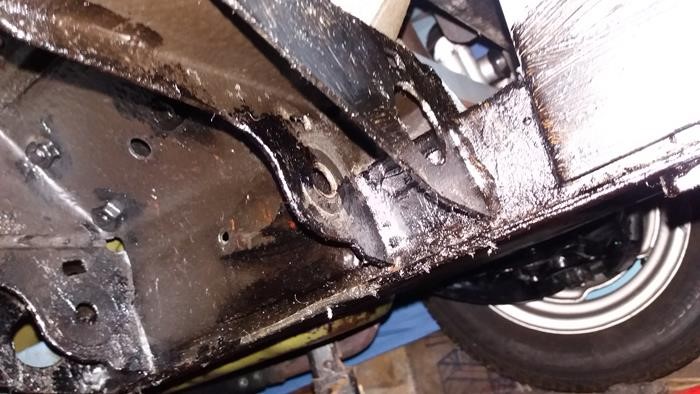
Next the inner Wishbone Bushes.
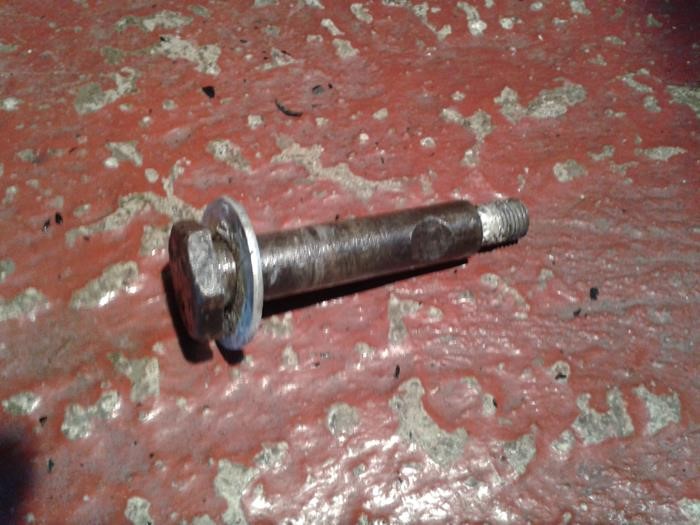
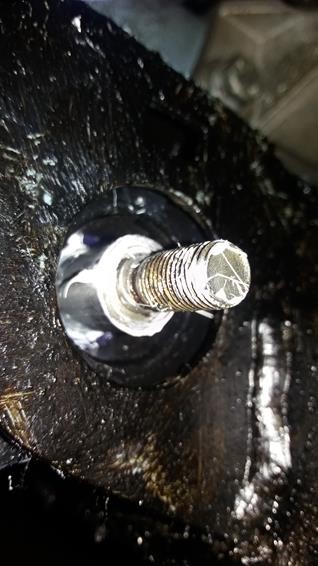
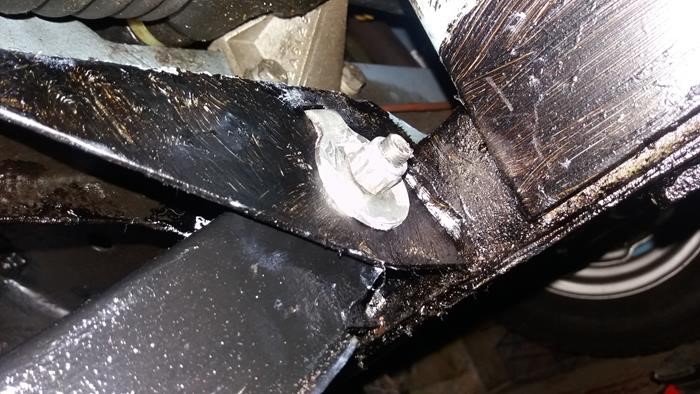
The Wishbone Bushes are retained by a self locating Bolt and Washer.
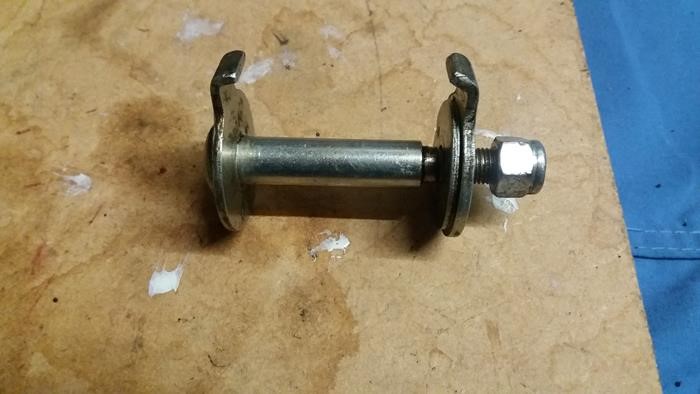
As can be seen here the Bolt and Washer have a locating ‘Peg’ which drops into cut-outs in the mounting Brackets on the Chassis at the top of the fitting.
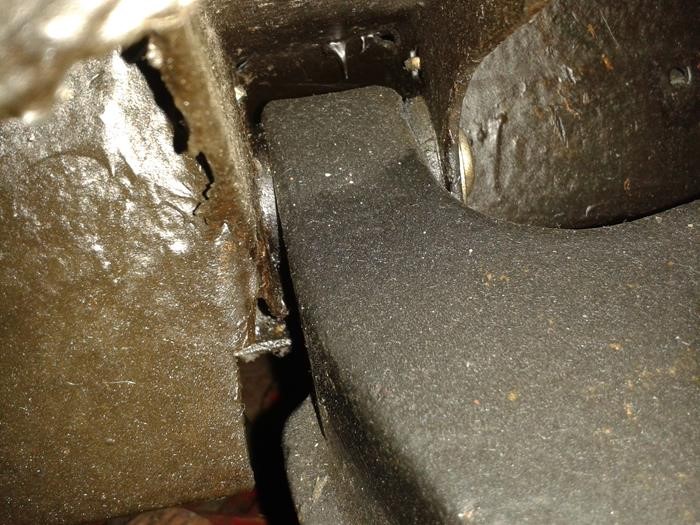
To remove the Bushes undo the Locknuts and remove the through Bolts. Then remove the Washers from the outer Brackets where they sit in a recess. This will relieve any tension on the Bushes. You can also remove the outermost Bush through the large hole in the Bracket to help with removal of the Wishbone. From here you can pull out the Wishbone from the Brackets and push out the old Bushes. Be careful again here not to damage the Brake Hose and support the Hub and Brake as necessary.

With the Wishbone hanging free you can clean up the Bush fitting area and check for corrosion or damage. Once you are ready then reassembly can begin. As with the Trunion Bushes the Wishbone Bushes need to be fitted so that the pivot point is around the centre of the Bush and not around the Bushes in the Wishbone.
I found it easier to fit both the inner Wishbone Bushes and Spacer Tube into the Wishbone first.
Then refit the Wishbone and insert the through Bolt remembering to locate the alignment peg into its locating hole. The outer Bushes can now be inserted over the Spacer Tube and into the Wishbone.
Then refit the outer, through Bolt Washers, carefully locating their tabs into the cut-outs in the Brackets.
Refit and tighten the Locknuts. The Nuts should be tightened up so that the Wishbone pivots around the centre of the Bushes and the Bushes do not move in the Wishbone. It may be necessary to slacken the nut from fully tightened to achieve this but again it is imperative to Bush longevity that they are installed correctly. You can raise and lower the Wishbone by hand to check the action.
The Spring can now be refitted using the two threaded Rods used during disassembly. The lower Spring Seat is not handed so can be refitted on either side.

With the threaded Rods refitted tighten the opposite Nuts evenly so as to pull up the Spring Seat horizontally to the Wishbone. Once the Spring Seat meets the Wishbone secure it to the Wishbone using the original Nuts, Bolts & Washers in the two open holes.

Then remove the threaded Rods and replace with the other two original Nuts, Bolts and Washers.
With the Spring secure jack up the Suspension and remove any Chocks.

That’s it! Refit the Wheel(s) and lower the car to the floor. Remember to re-check the Wheel Nut torque (43 lb/ft in old money. 58Nm for the modernists!) after a week or two of use!
Thanks Pete Chaundy