fbpx
Navigation

The MG6 Flasher

By Mike Knott

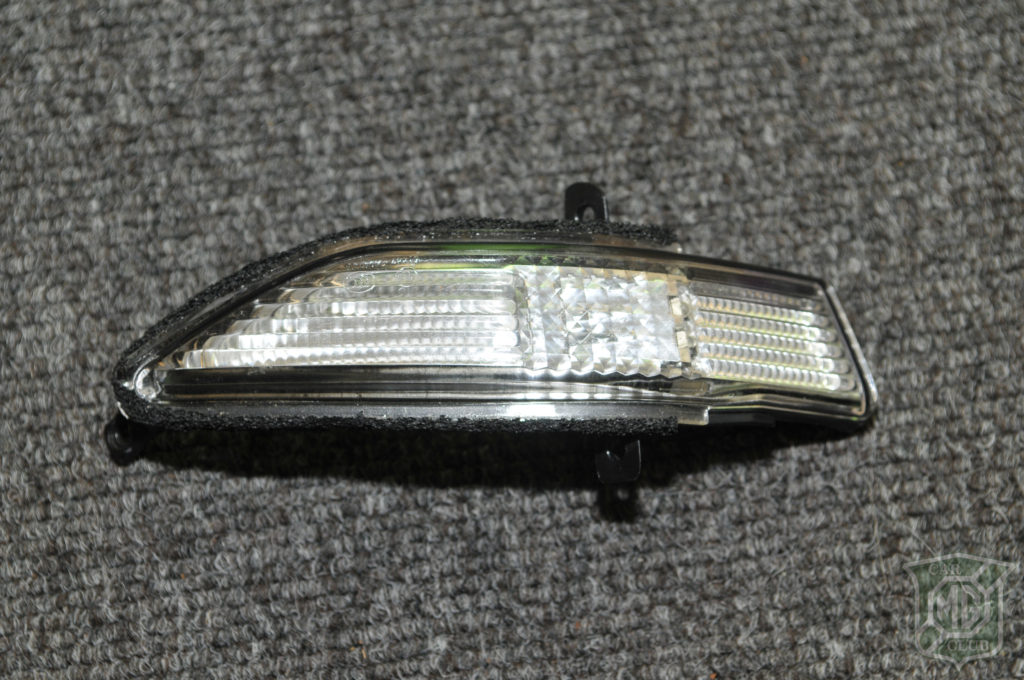
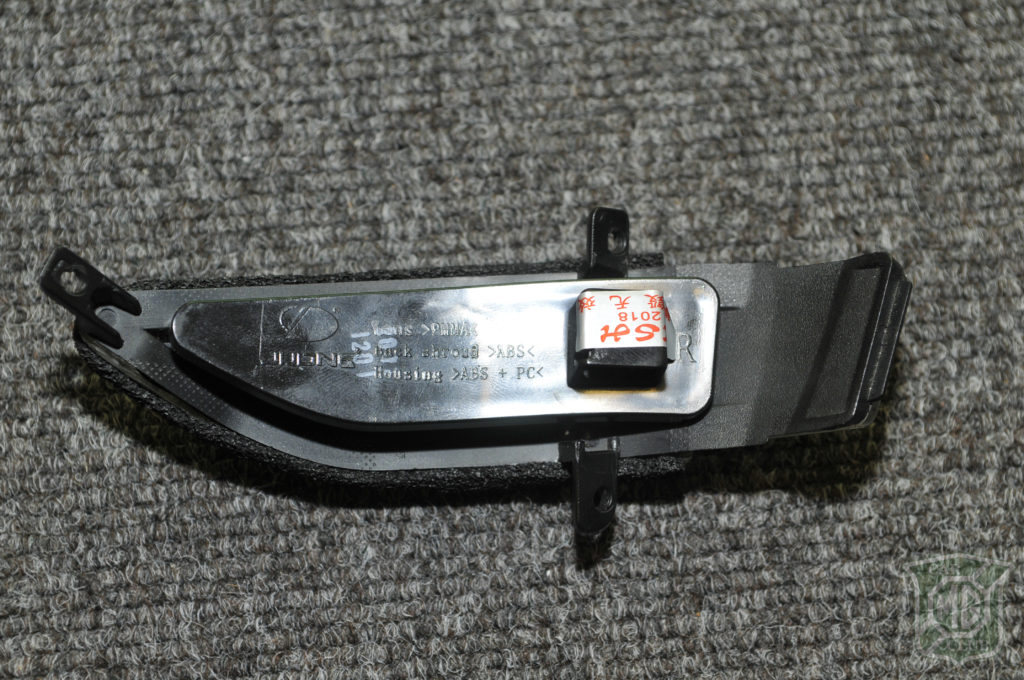
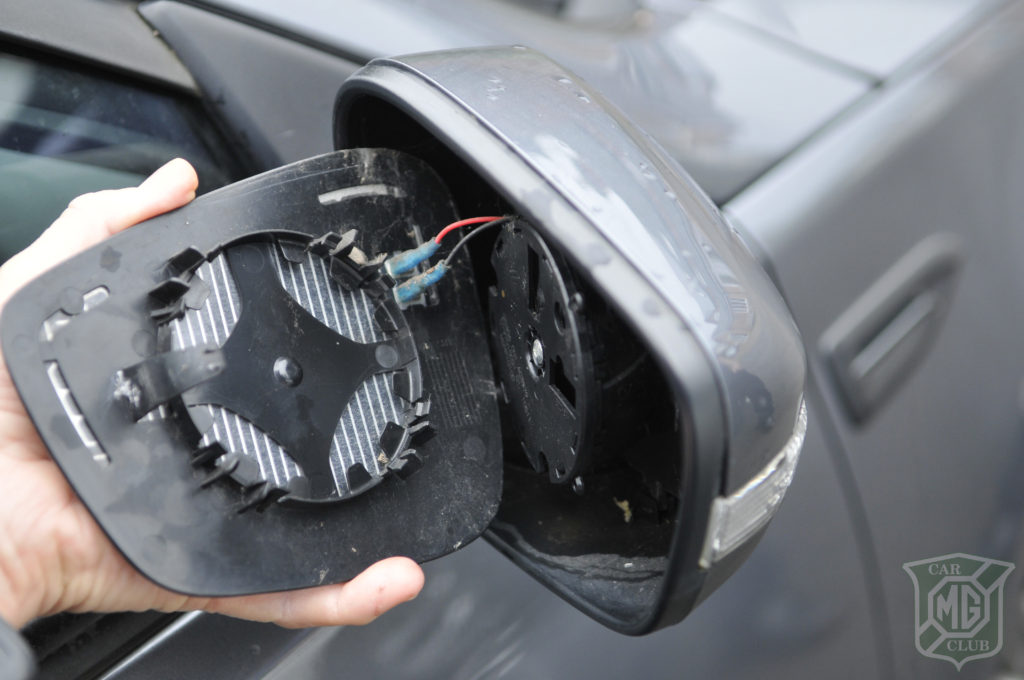
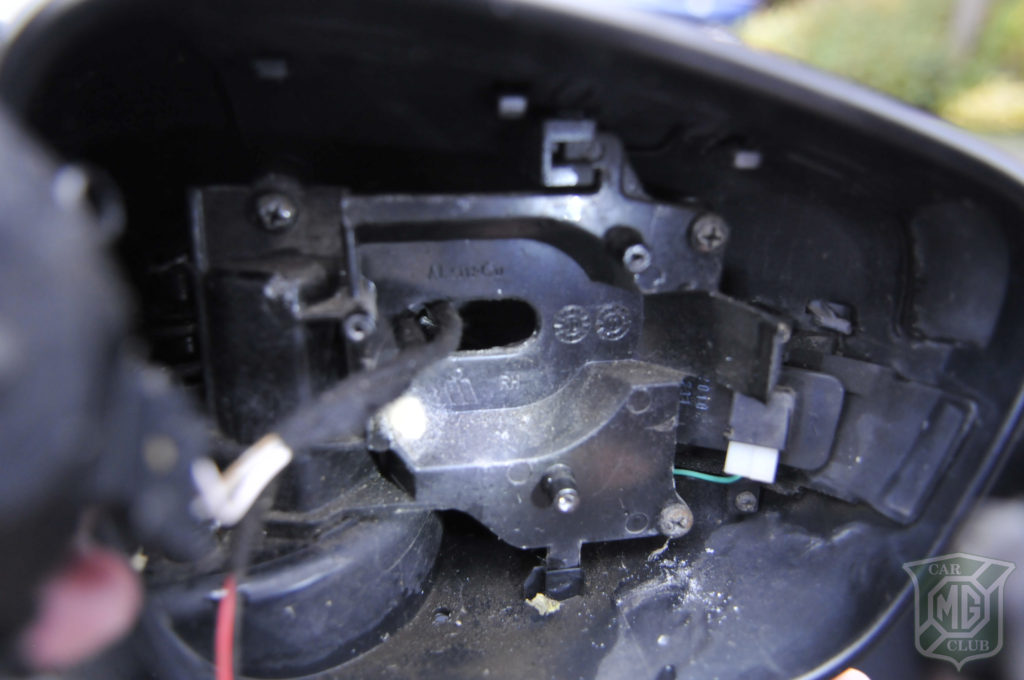
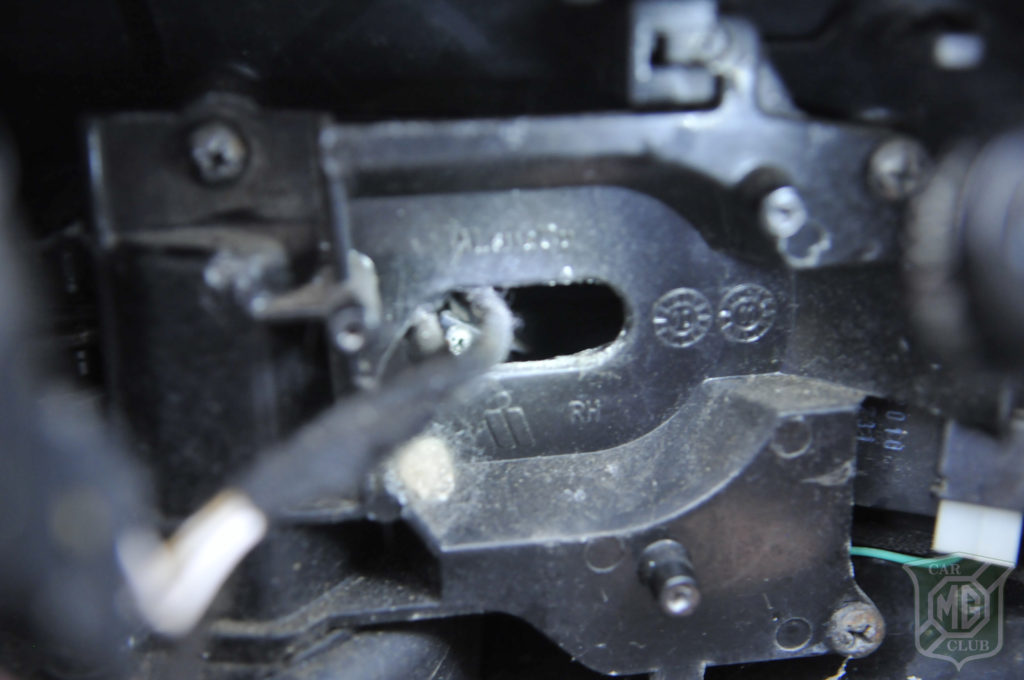
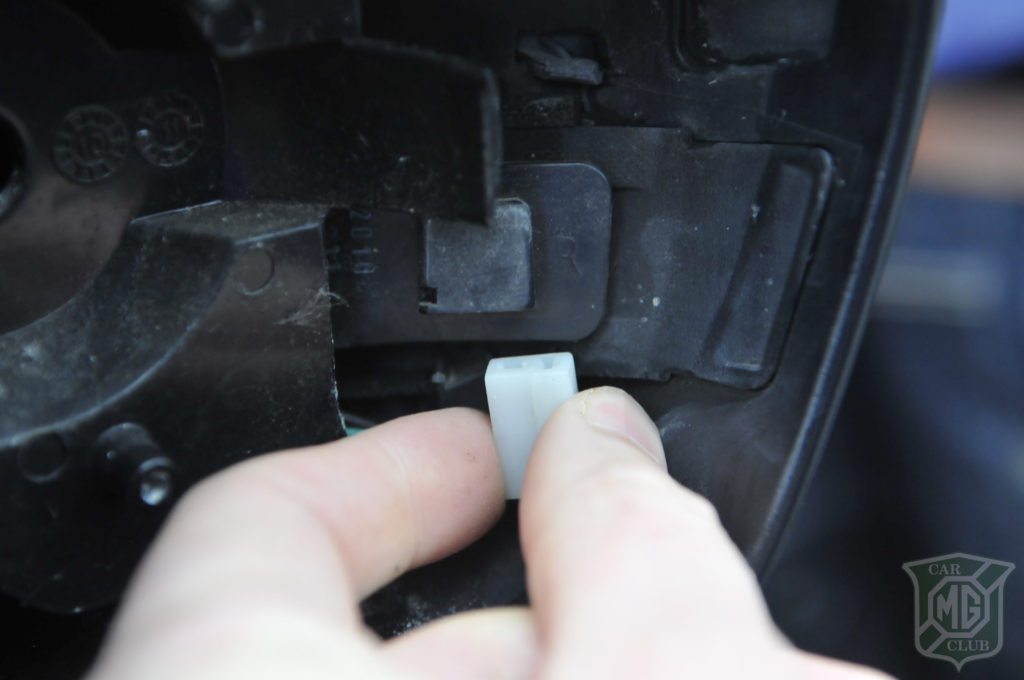
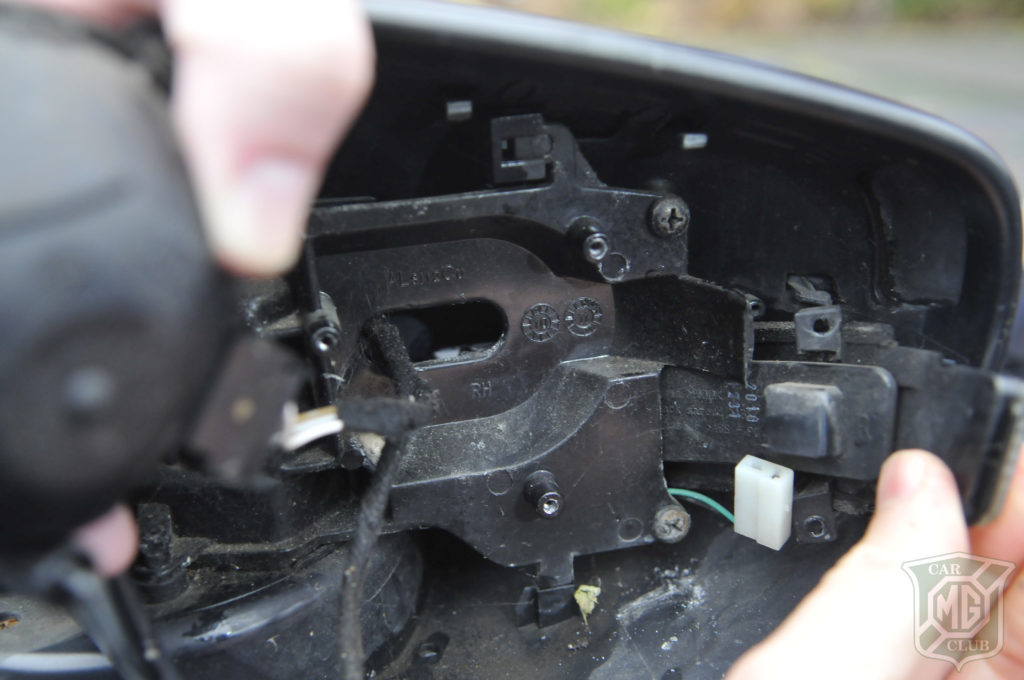
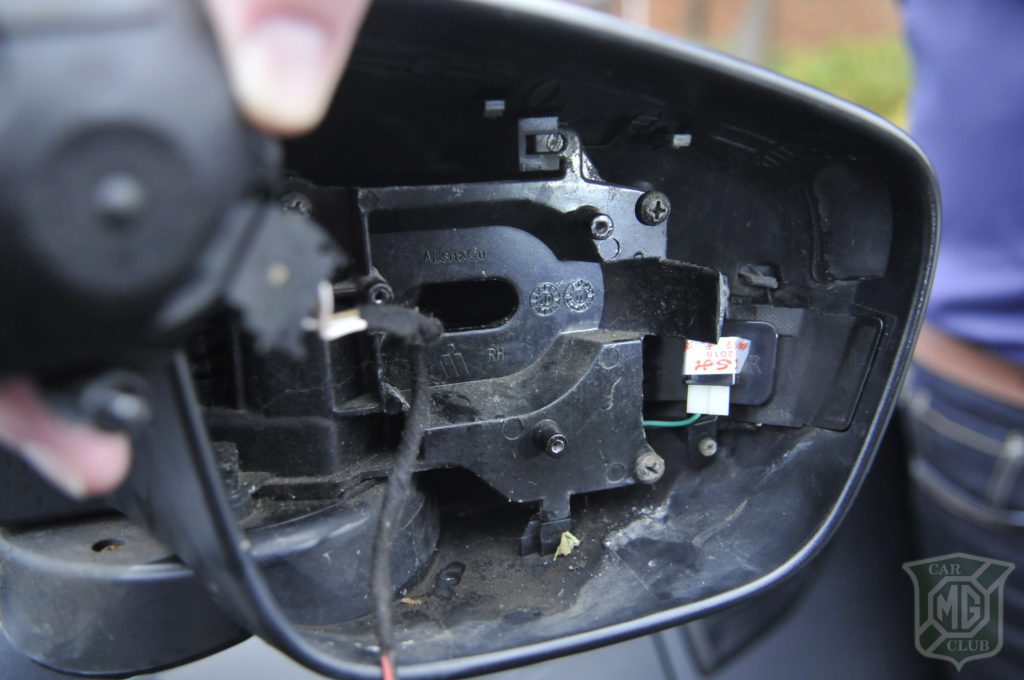
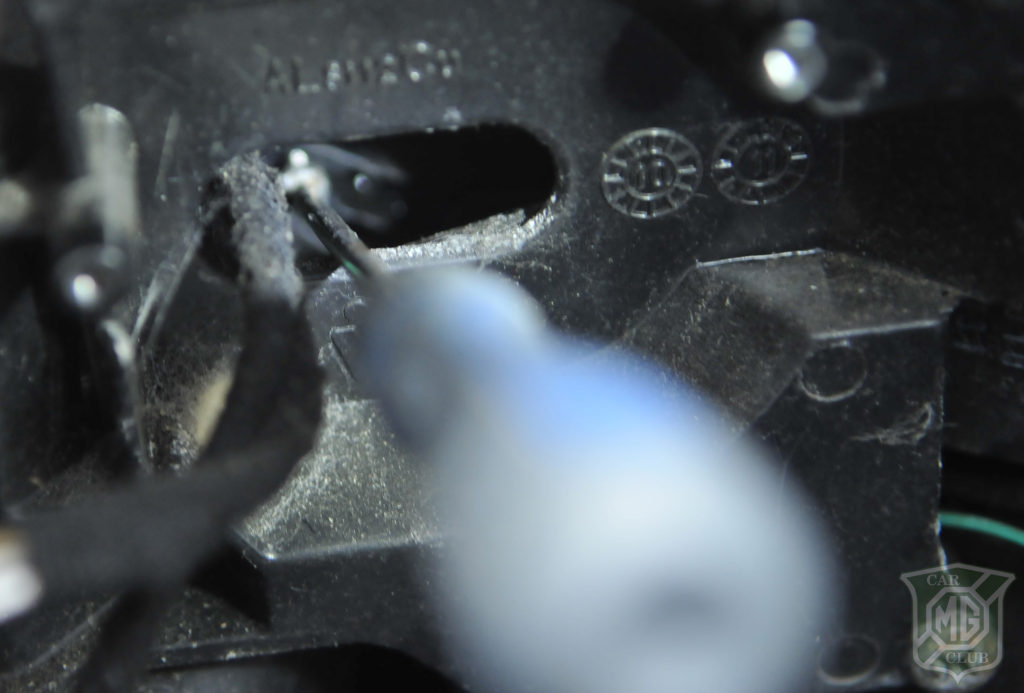
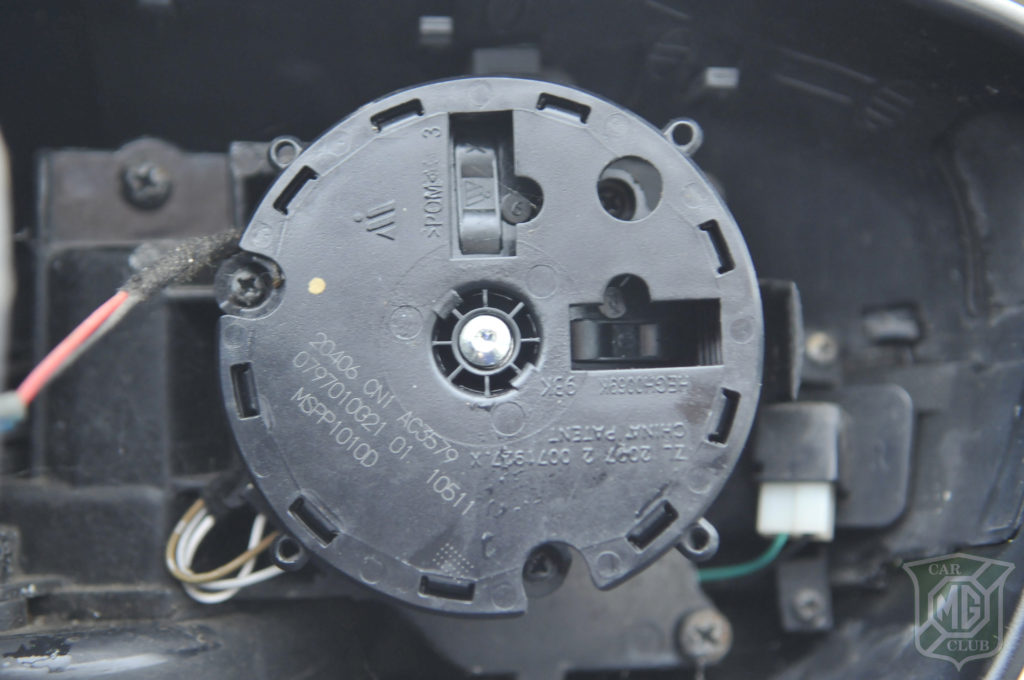
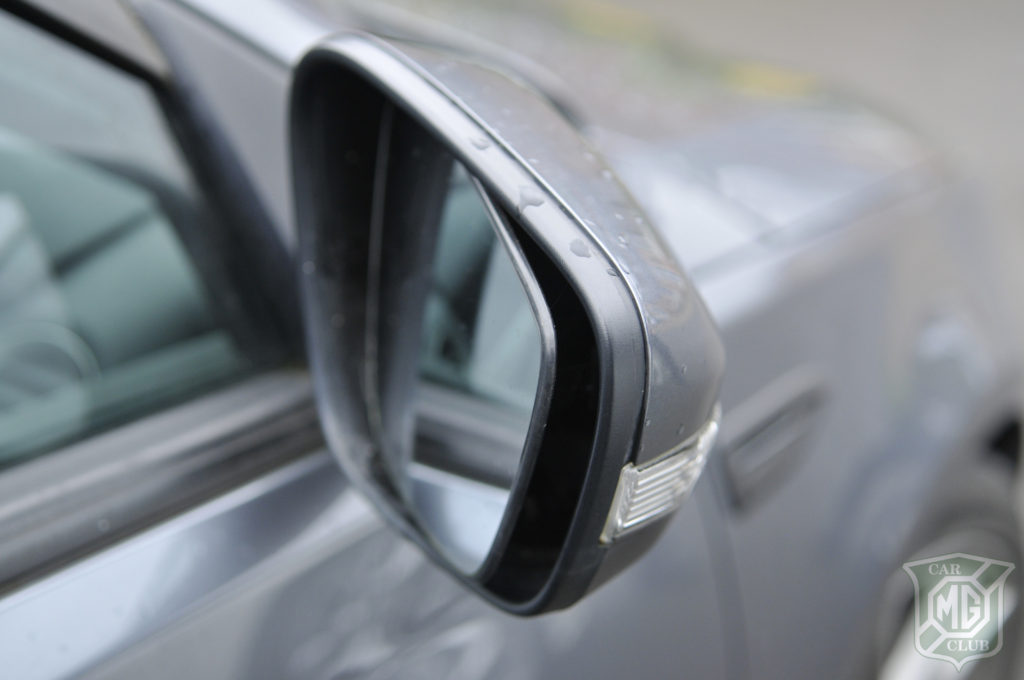
With the earliest of the MG6s reaching nine years old, it’s inevitable that some parts will fail with age. Recently the indicator in the driver’s side wing mirror failed on my 2013 MG6. Searching through the various social media sites, I found I was not alone with this failure as it cropped up in several locations, with more people concerned about fixing it promptly now, due to it being an MOT failure. With the wing mirror indicators being a sealed LED unit there are no bulbs to replace, so it means replacing the unit itself.

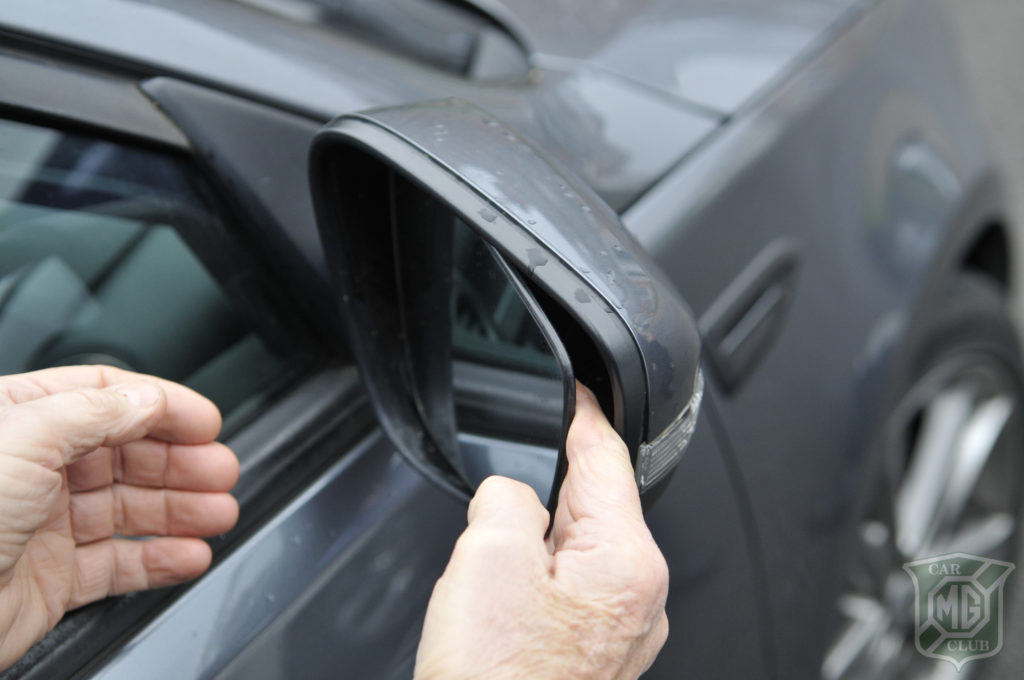
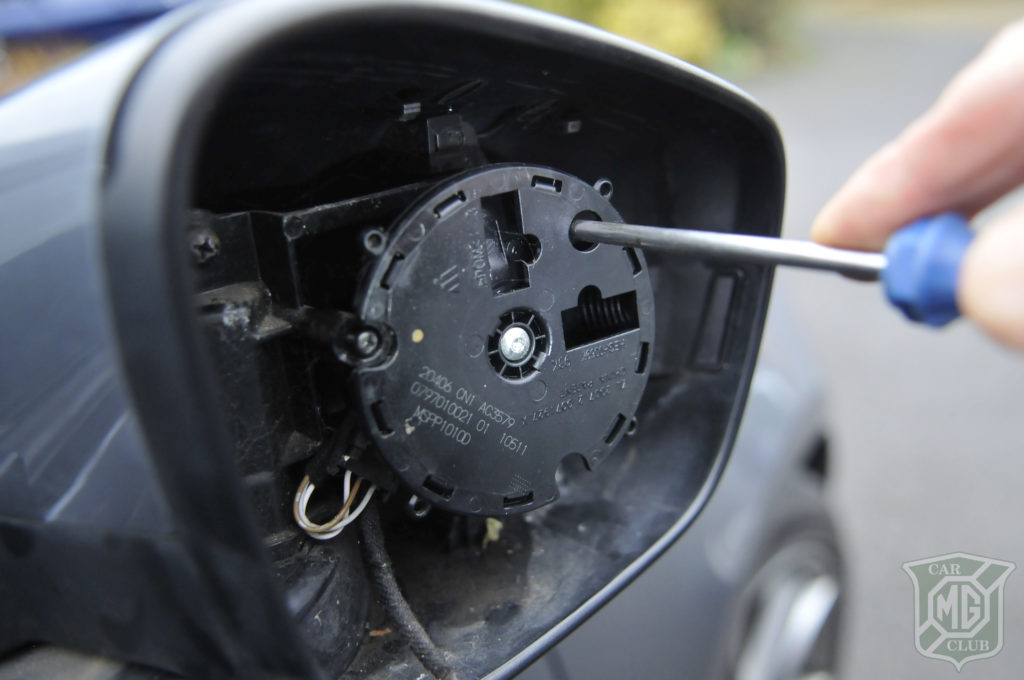
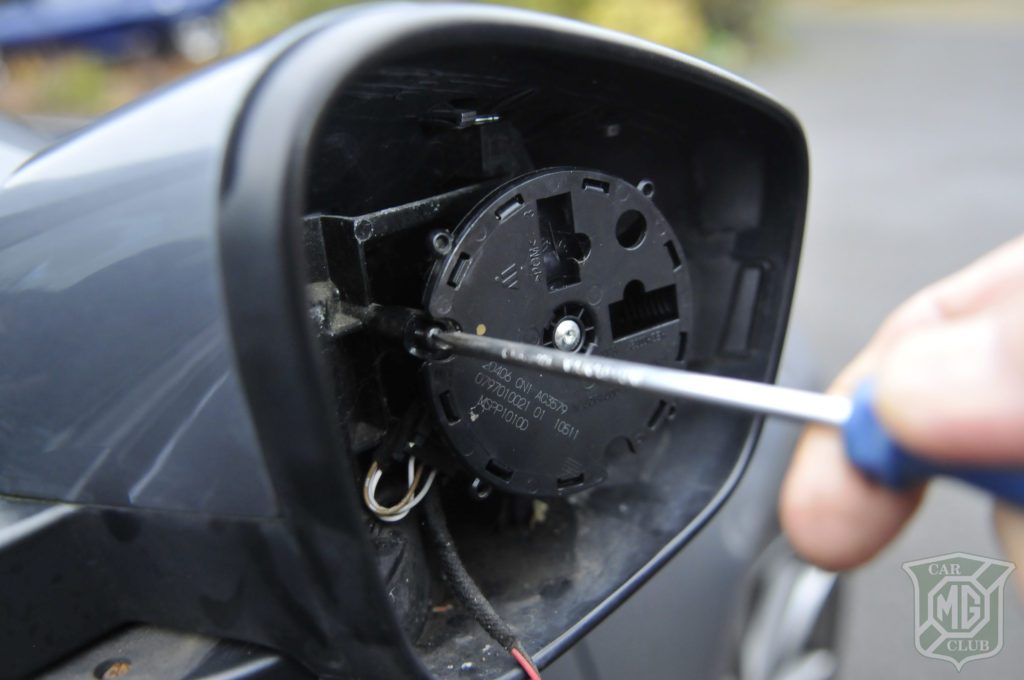
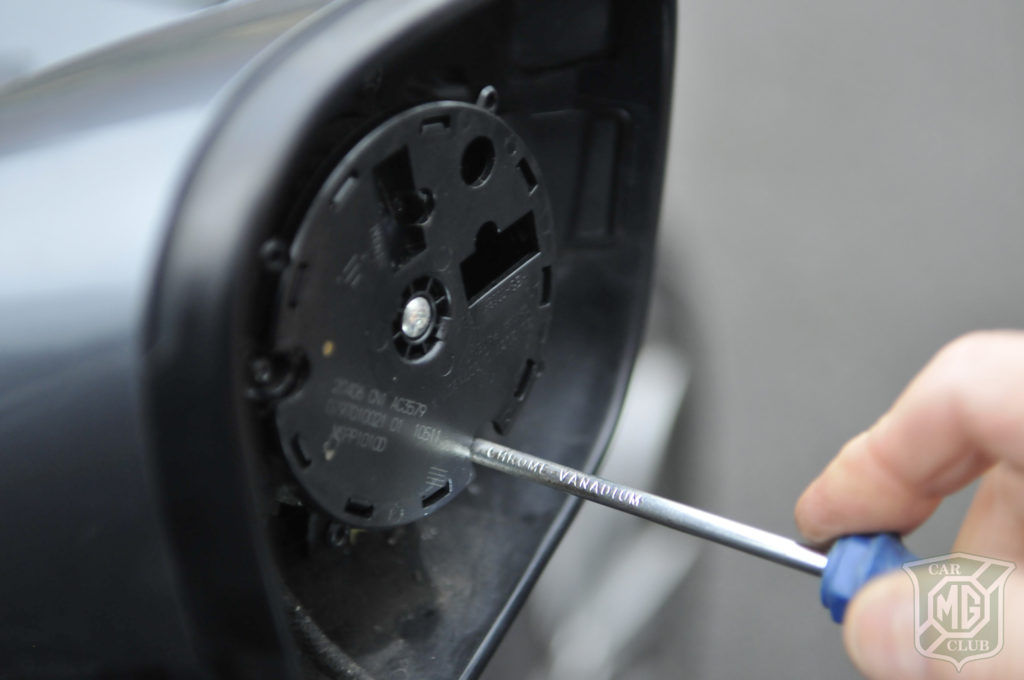
Thankfully you can now buy the unit on its own; at one stage you had to replace the whole of the wing mirror, which meant paying out £200+ for a genuine colour-coded new mirror unit. Companies now stock just the wing mirror indicators for a reasonable £30 per side. Fitting the new indicator LED unit is relatively straightforward, as shown in the following step-by-step guide.


Step 1: The new LED wing mirror indicator for the driver’s side ready for fitment.

Step 2: The underside showing the three mounting points and the electrical connection

Step 3: With the hazard lights going you can clearly see the old unit has failed on the drivers wing mirror

Step 4: Tilt the wing mirror glass towards the car using the adjuster in the car cockpit, slide you fingers behind the glass and pull gently to remove the glass from its clips

Step 5: With the glass off, you can either unplug the two wires that heat the glass, or support the glass so you don’t put strain on the wires

Step 6: Undo the three crosshead screws holding the mirror mount in place. The first is located through the hole here

Step 7: The second is easily accessible and located on the edge of the mirror mount

Step 8: The third is also easily accessible and located on the edge of the mirror mount

Step 9: With the mirror mount out of the way you now have access to the LED indicator which is held in place with three screws. One is located above and one below the electrical plug (shown with the green wires)

Step 10: The third is a bit more fiddly and located in the slot in the middle of the mirror, shown here to the left of the wire

Step 11: Unplug the electrical connector by pulling gently down on it. You may have to wiggle it slightly whilst pulling

Step 12: The old LED unit can now be manoeuvred out of the mirror casing to the right, as shown in the photo

Step 13: Slide the new LED indicator unit into position, plug in the two-pin electrical connector and check to make sure all is working ok before reassembling

Step 14: Reinsert the two LED holding screws by the electrical connector, and the third through the slot shown in the photo. A magnetic screwdriver makes locating the third screw a lot easier

Step 15: Relocate the mirror mounting and tighten the three crosshead screws (one in the hole top right, one in the left slot and the third in the bottom slot). Be careful not to overtighten as you’re screwing them into plastic

Step 16: Click the glass securely back onto the mounting plate, making sure you reconnect the heating element wires before doing so

Step 17: With the mirror back together, it’s time to stand back and admire your handiwork and watch all the indicators working in unison as they should